
Hi friends in this post I am sharing how to create your first animation in blender and also learn how to save the animation as video.This post is mainly for the complete newbies who just wanted to create animation at least one time in blender.


![]()


What are the important things you should focus on while creating animation in blender?
- First download the blender from blender.org .Blender is an open source software and it is completely free.Approximately the blender size will be in the range of 64mb-80mb.
- Inside blender find screen layout (screen layout mostly found in the top menu bar)and set default .

- After choosing default as screen layout you should see object tools on left side.In the object tools you should see the Keyframe which is the important part here to create simple animation.

- Just below workspace window (i.e) at bottom you can see and set keyframes.Sometimes called as header.

How to choose an object in blender?
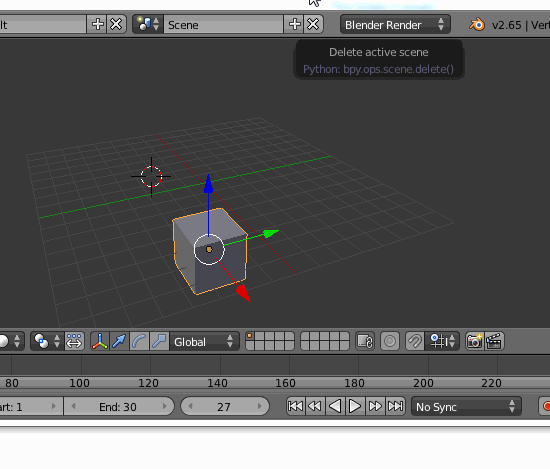
- In blender menu bar choose Add then choose Mesh and finally click Cube .

- In the workspace window the cube will be look like below .Also don’t forget to see the axis XYZ.

- Now I am going to make a simple animation by moving the cube from one end to another end .For this now I am setting 29 frames for the movement process.To do this task first goto header part and see start double click and enter the value 0 .At end enter the value 29.Change the value 29 according to your wish.Don’t forget to check the green line which is very important to create a simple animation.

- Now keep the green line at 0 frame .Check the above image you can see another value 0 that is not highlighted which is called as current frame. The green line is used to indicate and also helps to place the keyframe in the exact required frames .
- Enter the value 0 in the current frame then in object tools see the keyframe and click insert button .Then choose location from the dropdown menu. The keyframe is represented in the yellow color line . Next enter the value 29 in the current frame .Now green color line goes to the 29th frame. Now the important thing is , you have to move the cube by choosing and dragging x-axis in the cube. So the cube moves to some distance.Now again goto object tools see the keyframe and click insert button .Then choose location from the dropdown menu.Now another yellow color line appears at the 29th frame.Now just click the play button.That’s all friends you have created the first animation . If you need more understanding for this paragraph check the below animated gif.
How to save the animation as a video?
Ok friends now you have created your first animation.Now the important thing is you have to show the animation to your friends.So there is a need to convert the animation into some video file formats.And you can do this thing within blender itself.What are the basic steps needed to convert the video into animation?
- First of all you have to set the output format in blender as avi .


- Second thing we have to render the animation.You can see this at the header.Rendering is used to convert the video into series of images.So you can catch even small changes in the scene and for experts in animation this rendering is very useful .This tutorial is for beginners so the above method is more than enough .

- That’s all friends you can now play your animation as a video.Check the output folder path .

- For better understanding see the animated gif.
- See the video and if you need to share to your video to friends just copy it and give .They can now play your videos in their computer even blender is not available !!!.

Hi. I am interested in blogging.And sometimes play with webdesign,web development,domain sale,designing logo and more.
0 comments :
Post a Comment