Hi friends in this post I am sharing a freeware called as AOMEI Backupper for data protection and disaster recovery for your PC .Commercial version is available and comes with lot of features where freeware is definitely a worth software , when you try to backup folders,files and hard drives.

Supported Os are Windows 8.1, Windows 8, and Windows 7 (32/64-bit).
Size of AOMEI Backupper Standard will be will be approximately 60 mb .Supported OS are Windows 8.1, Windows 8, Windows 7, Vista, XP (32/64-bit).
AOMEI Backupper Server
AOMEI Backupper Technician
Edition Comparison
First download aomei backupper freeware. Now Open the freeware.
If it is the first time click create new backup .

Now it goes to the second menu Backup. In this area Click File Backup . Here you can make the backup of files and folders.

You have to add the file or folder In the step 1 which you want to make backup. And in the next step2 choose another location (i.e) a folder which you want to make backup. Check the below image,

The backup process now starts…. Wait for sometime .The time take to finish the backup depends on the size of folders and file. Finally finish.

The backup files are now listed at the home page of AOMEI Backupper software . You can also check the backup folder name as shown in above image.

A description of the backup point will be shown. See the image below. If you think the destination path wrong you can move back.Or just click next.

Here first you have to check the drive name.Next check the folder will be displayed which you want to make backup . Also check the files which are the main part and finally click next.

In the next page I recommend you to choose Restore to a new location .Finally click Restore .

Restore process starts now and click finish .

That’s all friends . You can check the destination folder of restored files .
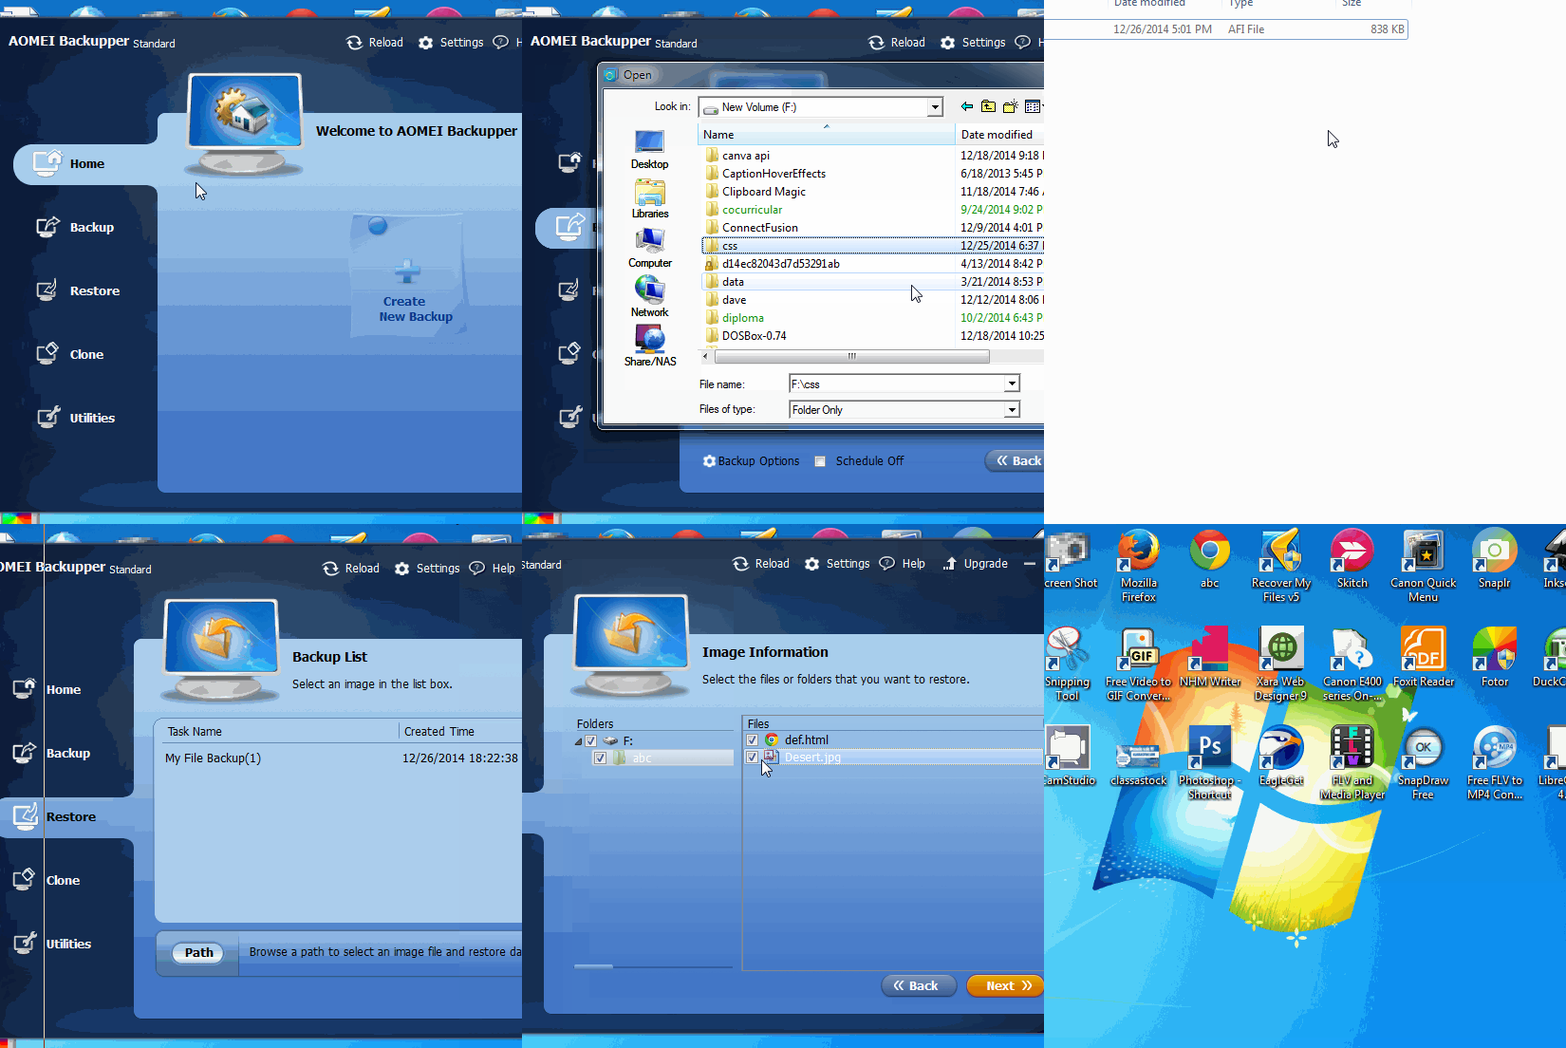
Kindly check the animated gif tutorial .
You can also try the method for partitions and more.

About Aomei Company
AOMEI Technology provides easy-to-use, reliable, powerful Backup Software, Partition Manager, Dynamic Disk Converter and NTFS to FAT32 Converter.AOMEI company also provides easy cloud storages management for home and business users all over the world.services to customers all around the globe, like USA, UK, Italy, France, Germany, Singapore, Israel, Australia, New Zealand, Brazil, India, etc .AOMEI backupper freeware details
Size of Aomei Backupper Standard For Win7 will be approximately 20 mb (Vista,XP not supported.).Supported Os are Windows 8.1, Windows 8, and Windows 7 (32/64-bit).
Size of AOMEI Backupper Standard will be will be approximately 60 mb .Supported OS are Windows 8.1, Windows 8, Windows 7, Vista, XP (32/64-bit).
other products of AOMEI
AOMEI Backupper ProfessionalAOMEI Backupper Server
AOMEI Backupper Technician
Edition Comparison
File backup and restore tutorial using AOMEI Backupper freeware
Here I am sharing how to make simple file backup using AOMEI Backupper free software.And the other options are also very easy to use.First download aomei backupper freeware. Now Open the freeware.
Backup Process
If it is the first time click create new backup .

Now it goes to the second menu Backup. In this area Click File Backup . Here you can make the backup of files and folders.

You have to add the file or folder In the step 1 which you want to make backup. And in the next step2 choose another location (i.e) a folder which you want to make backup. Check the below image,

The backup process now starts…. Wait for sometime .The time take to finish the backup depends on the size of folders and file. Finally finish.

The backup files are now listed at the home page of AOMEI Backupper software . You can also check the backup folder name as shown in above image.
Restore Process
In the Restore option all the backup list will be shown.Choose one and choose the path and choose a folder to place the backup files. Finally click Next .
A description of the backup point will be shown. See the image below. If you think the destination path wrong you can move back.Or just click next.

Here first you have to check the drive name.Next check the folder will be displayed which you want to make backup . Also check the files which are the main part and finally click next.

In the next page I recommend you to choose Restore to a new location .Finally click Restore .

Restore process starts now and click finish .

That’s all friends . You can check the destination folder of restored files .
Kindly check the animated gif tutorial .
You can also try the method for partitions and more.


0 comments :
Post a Comment